Printing a coloring page should take about two minutes. Yet ask any parent and you will hear stories of pages that came out tiny in the middle of the sheet, cut off at the edges, or printed so faint the child asked, “Is this one done already?” Almost all of these problems come from one place: the print dialog. Here is a simple, reliable routine that gives you a crisp, full-page coloring sheet every time.
Step 1: Download the File First
Start with the PDF version of the page whenever one is offered. A PDF locks the page size, so what you see is what you get. If only an image file is available, choose the highest-resolution version and avoid stretching a small image to fill the page — enlarged small images print blurry, and no setting can fix that. Save the file somewhere you can find again, like a “Coloring Pages” folder on your desktop.
Step 2: Open It in Something That Shows a Preview
Double-click the PDF so it opens in a proper viewer — Adobe Acrobat Reader on Windows, Preview on a Mac, or your browser’s built-in PDF viewer. The key thing you want is a print preview that shows the whole page. If the preview looks wrong, the print will be wrong. Never skip this glance.
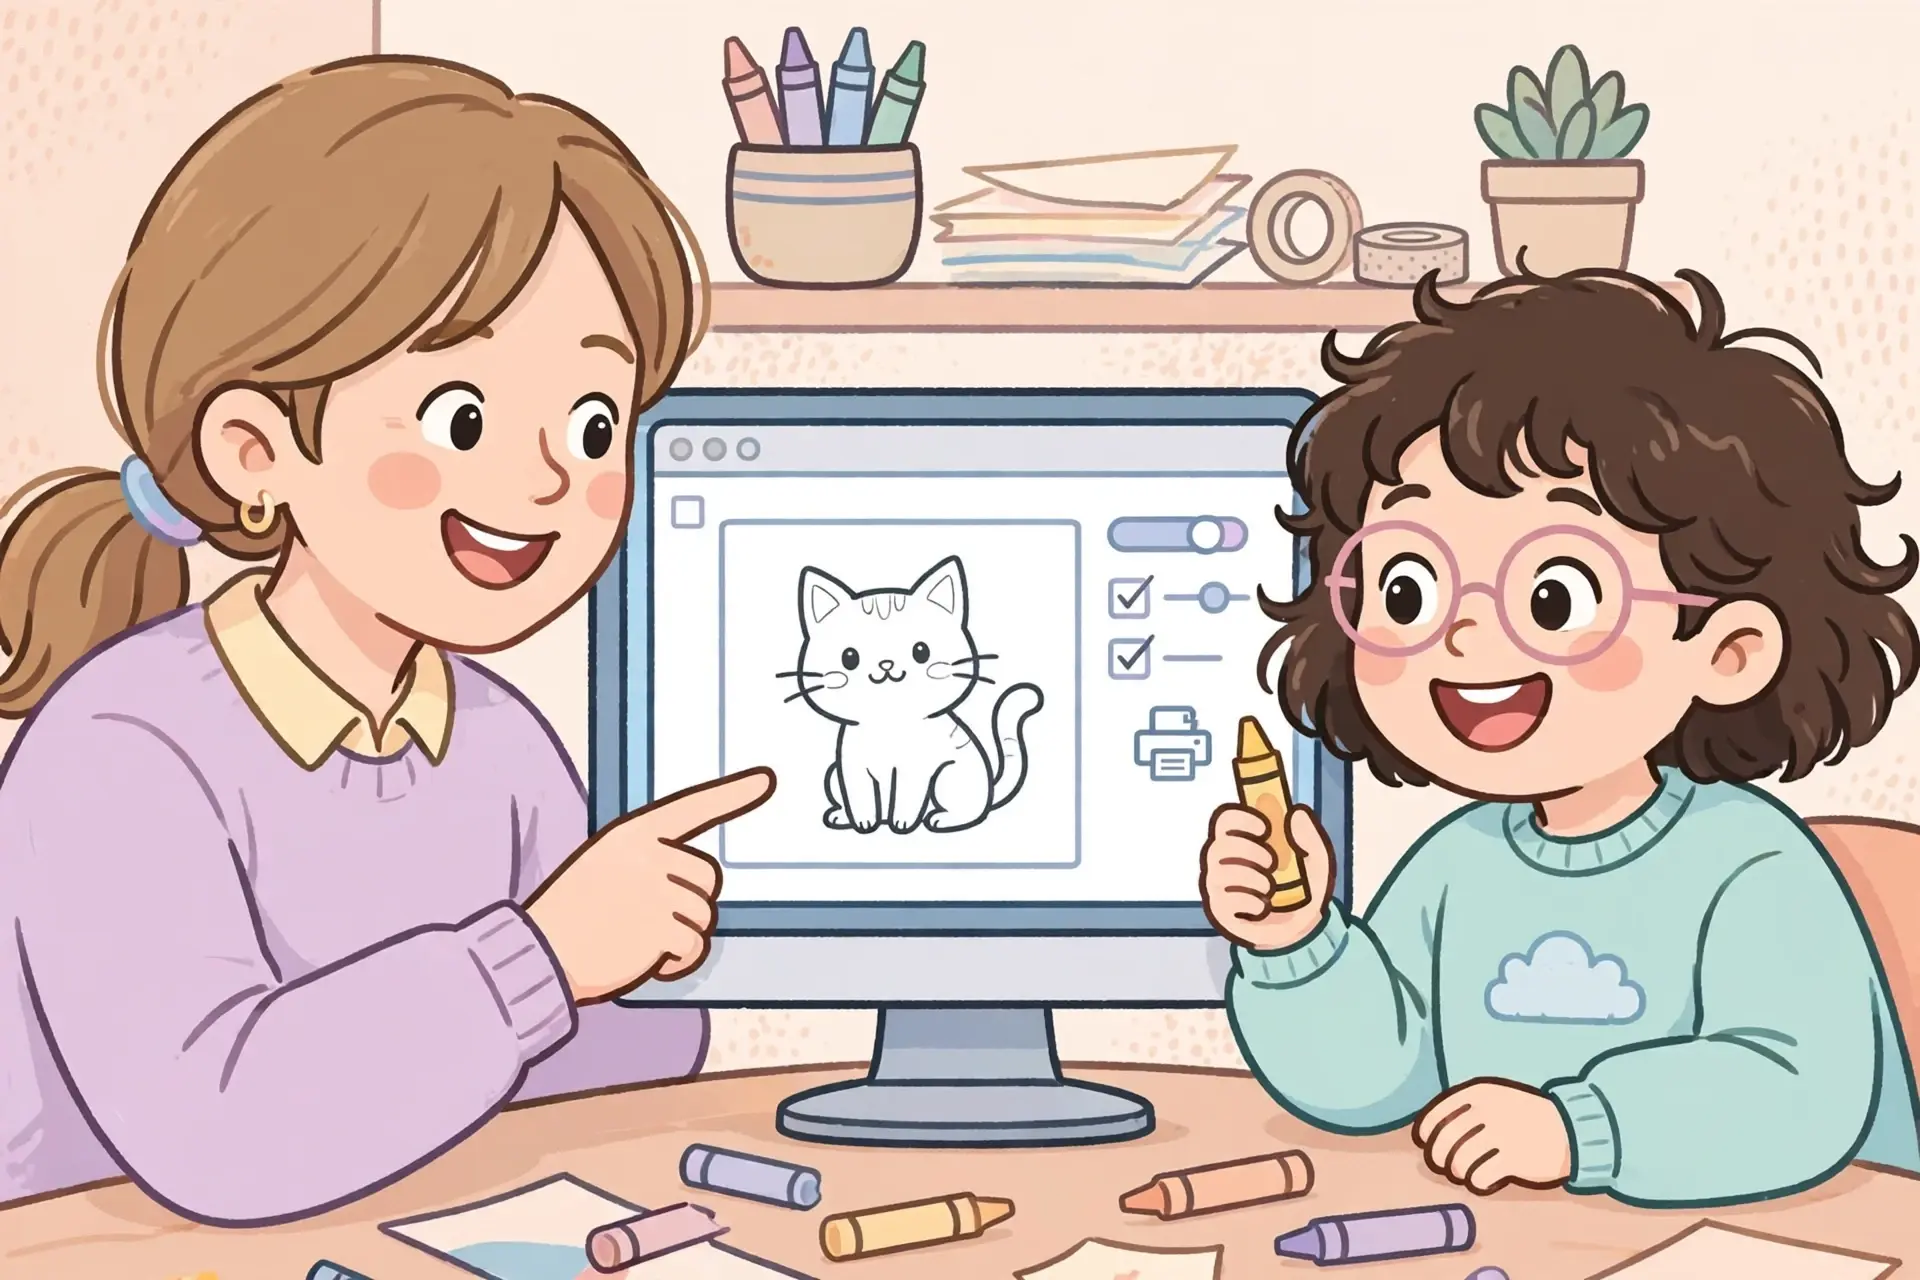
Step 3: Set These Six Print Options
Press Ctrl + P (Windows) or Command + P (Mac) and set the following before you touch anything else:
1. Paper size — match your paper. In the US, this is almost always Letter (8.5 x 11 in). The setting must match the paper actually loaded in the tray, or the page will scale oddly.
2. Orientation — portrait. The vast majority of coloring pages, including our cat coloring pages and unicorn coloring pages, are designed vertically.
3. Scale — “Fit to page.” This guarantees the whole design lands on the sheet without cropping. Only use “Actual size” if the file was designed for your exact paper size and you know it.
4. Color mode — Black and White (or Grayscale). Coloring pages are line art. Printing in black and white saves your color ink and produces crisper, cleaner lines.
5. Quality — Normal or Best. Avoid “Draft” or “Economy” mode, which lays down less ink and produces washed-out lines that are hard for little eyes to follow.
6. Two-sided printing — off. Coloring on the back of another printed page invites bleed-through, and marker strokes will show through to whatever is behind it.
Step 4: Run One Test Print on Plain Paper
Before loading your good paper, print one copy on regular copy paper. Check three things: the design fills the page (no giant empty margins), the lines are dark and solid, and nothing is clipped at the edges. This single test page saves far more paper than it uses. If you are printing a whole batch — say, a set of easy cat pages for a playdate — the test page pays for itself many times over.
Step 5: Let the Ink Dry
If you have an inkjet printer, the ink comes out wet. Give the page 30 to 60 seconds before anyone touches it, or little fingers will smear the lines. Laser printers use dry toner fused with heat, so the page is ready the instant it lands in the tray — one reason many teachers and classrooms prefer them for batch printing.
Quick Troubleshooting
Lines look faint or grey? You are probably in Draft mode. Switch quality to Normal or High and print again.
Edges getting cut off? Your scaling is set to “Actual size” while the printer’s minimum margins are larger than the file’s. Switch to “Fit to printable area.”
Page printed tiny in the center? The paper-size setting does not match the loaded paper. Check both.
Streaks or banding across the page? Run your printer’s nozzle check and head cleaning from its maintenance menu — one clogged nozzle causes those horizontal stripes.
Printing From a Phone or Tablet
On an iPhone or iPad, open the PDF, tap the Share icon, then Print, and choose your AirPrint printer. On an Android, open the PDF, tap the three-dot menu, and select Print while phone and printer share the same Wi-Fi. No wireless printer? Email the file to yourself or save it to Google Drive, then print from a computer.
A Few Finishing Touches
Once printing is part of your routine, these small habits make it smoother. Keep a stack of plain paper loaded for quick prints and reserve your heavier stock for the keepers — our guide to the best paper for printable coloring pages walks through which weight suits crayons, pencils, and markers. If the kids color with markers, always slide a backing sheet underneath the page to protect the table. And if you live outside the US, check our A4 vs US Letter guide so your settings match your paper.
Printed a stack and not sure what to do with the finished masterpieces? Browse our butterfly coloring pages for a fresh theme, or read how to store finished coloring artwork for ideas that go beyond the fridge door. Happy printing — the crayons are waiting.